


Materials used:
Alpha Stickers 'Child's Play- Boy' (KaiserCraft)
Die Cut Elements 'Child's Play' (KaiserCraft)
Patterned Papers 'Child's Play' (KaiserCraft)
Bling 'Light Pink' and 'Bright Pink' (KaiserCraft)
Teal Cardstock (Chromatics)
Template 'Orchid' (Crafter's Workshop)
Circle Punch 1" (Carl)
Punch 'Branch' (Nellie Snellen)
- Pink Tissue Paper
- Pearl Beads
- Wire
Jewel Template 'Flowers and Flourishes (Bazill Basics)
Jewel Template 'Garden' (Bazzill Basics)
Instructions:
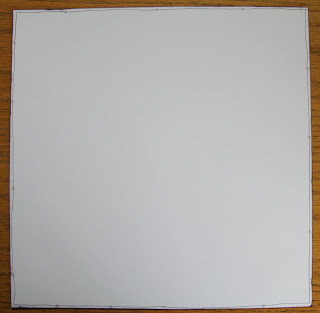
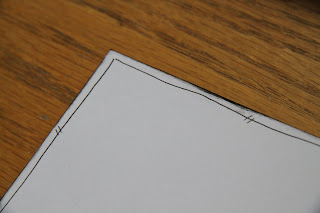
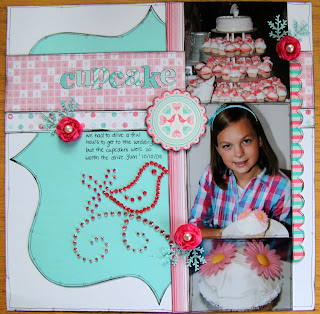
I doodled a frame all around the white cardstock.
- Using my 'Orchid' template I traced and cut a shape out of the teal cardstock.
- I doodled around the shape to give it some more dimension. I placed the shape to the left of my page.
- I placed a thin strip of paper on the right side of the shape (slightly off centre).


- I cut a thin and a thicker strip out of the patterned papers and placed them across the page.
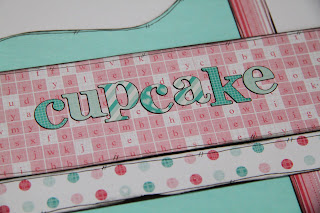
- I added a title 'Cupcake' with the Alpha Stickers. I outlined the stickers with black pen.
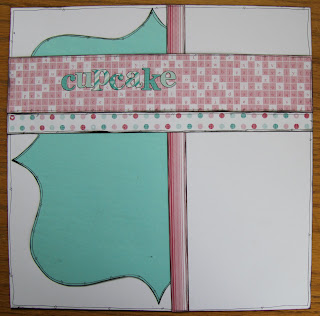
- I used three vertical photos. I cropped two of them to make them fit vertically.
- I added some journaling and two die cuts (the scalloped strip is one of the die cuts).
- I doodled all around the papers and shapes to make them stand out.


- I decided to add 'something handmade' to the page. I made flowers out of tissue paper (the kind that you can get anywhere in the gift wrapping department).
- I folded the paper a few times and punched a few dozen 1" circles ( see picture 1 below).
- PLEASE NOTE: if you try to punch though only one or two layers of tissue paper, it will most likely not work and you could damage your punch! I punched 8 layers at the time and that worked fine!
- I put about 20 punched circles on top of each other (picture 2).
Using a hole piercer I pierced a hole through the punched circles (picture 3).
I put a piece of wire through the bead and twisted the wire a few times (picture 4).

I put the wire through the punched hole (picture 5, 6 and 7).
I cut a bit of the wire so it won't stick out (picture 8).

- I 'separated' the wires to make it 'stick' (picture 9 and 10).
The pearl is nicely centred in the middle (picture 11).
- Using my fingers I crinkled the paper to make a flower shape (picture 12).

- Using my 'Jewel Templates' I added the final touch with some bling swirls and a cute bird.
I also punched some branches and added them under the tissue paper flowers.
Done!

4 comments:
I haven't been to your blog before. This is my first visit :)
Just wanted to say how much I love your layout you have done here with Child's Play!
Thanks for sharing your amazing LO!
Love love love it.. Your work is so inspiring Hun.. what a great step by step xx
Beautiful LO Inge ... gorgeous flowers!!! I think I'm going to have to play with that technique some time very soon!! Alz :)
Love the colour scheme, the birdie, the flowers... okay, I think I love the whole layout. LOL! Beautiful work again Ingeborg.
Oh, cake looks scrummy.
Post a Comment