“Thanks” Card
Materials used:
Using
cardstock (I’ve used white) cut 28cm x 14cm and score (fold) at 14cm to fold it in half.
Cut a (large) square piece of pattern paper –
My Minds Eye Abbey Road Whirlybird “Best Friends” scattered flowers to 13cm x 13cm

.
Using a 35mm square punch (or cut them by hand) punch out 9 (small) squares of coordinating pattern paper – Whirlybird “Shine”

.
Rather than ink the edges of the large and small squares I’m going to distress the edges. I use a Making Memories “distresser” and Tanyah has the great Tim Holtz one in the shop. If you don’t have one – you can use your scissors

– but please do so very carefully!!! So distress the edges of your large square and the 9 small squares

.
Adhere the 9 small squares in an even grid on your large square

. If you feel the need you can use a ruler to make sure they are all ‘even’ but I tend to go more ‘freestyle’ and place them by eye!
With a pin pad (old mouse pad) under your large square, pierce the paper through all layers between a number of the small squares

.
Using some matching coloured embroidery thread; stitch between the pierced holes

.
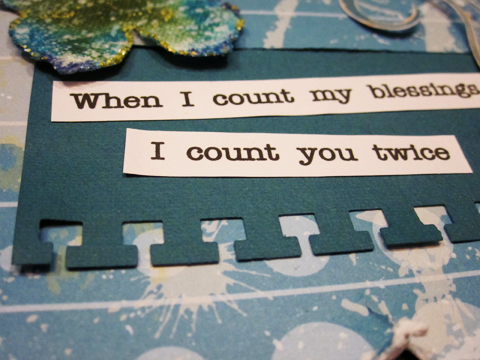
Put your sentiment on a small rectangle of coordinating cardstock using a stamp, mini alphas or in my case, I’ve used a Kaisercraft rubon. Ink the edges of this small rectangle

.
We will be adhering this to the bottom right hand corner of the smaller squares later.
Using some
thread, ribbon, ric rac or yarn, cut a piece approximately 12 cm long to curve into the shape of the stem of our flower

.
I’ve used twine – I really like the rustic look of this twine amongst the ‘pretty’ colours of these papers. Attach the twine in place using glue or Xyron sticker maker.
I’ve snipped out a small piece of the green pattern paper to make a very small leaf which I’ve outlined in a fine pen. Adhere the sentiment and small leaf using double sided foam mount (Tanyah has some
Bella foam mount). This gives a 3D effect and lifts the sentiment up over the twine

.
Using a flower (
Chelly Bean Designs Romantic Rose); glue on top of your twine ‘stem’. As you can see, I’ve inked the pink romantic rose slightly

.
Add a few
buttons as finishing touches to final pretty card
Thank you Manda for your beautiful card. If anyone would like to have a go at this we would love to see your verson of it in our
gallery...
http://www.scrapncraftwitht.com.au/gallerytill next time
luv tanXx








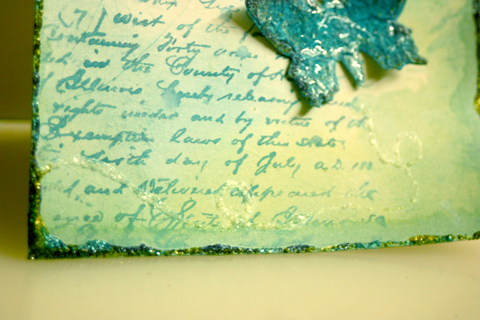


 I added my journaling (some lyrics from Miley Cyrus) at the bottom. The words are about butterflies and therefore I put the words in swirly lines to create a 'butterfly' feel. Our daughter loves Miley Cyrus at the moment, so it seemed to fit well ...


 I punched three butterflies out of a scrap piece of orange paper and added them for a final touch:
 Done ... and remember this layout only costs me about $ 1.00 ! ! !

 The 'Element Stickers sheet' already had the title 'You're the coolest', so to keep this layout quick and easy, I used those for the title of my layout. I also added my photo.
 I used some Prima flowers and some punched flowers to have a nice 'flow' of flowers at the top and bottom. I added some bling in the centres of the flowers. Done!


