


Today as promised, I am to announce the winner who commented on my blog each day for 8 days ... Thankyou everyone for checking out my canvas.. they have been lots of fun creating and can't wait to create some more.
So the WINNER is.... LIZZYC.
Could you please email me at cardartbytanya@yahoo.com.au your full name and address so I can post out some yummy goodies to you!.
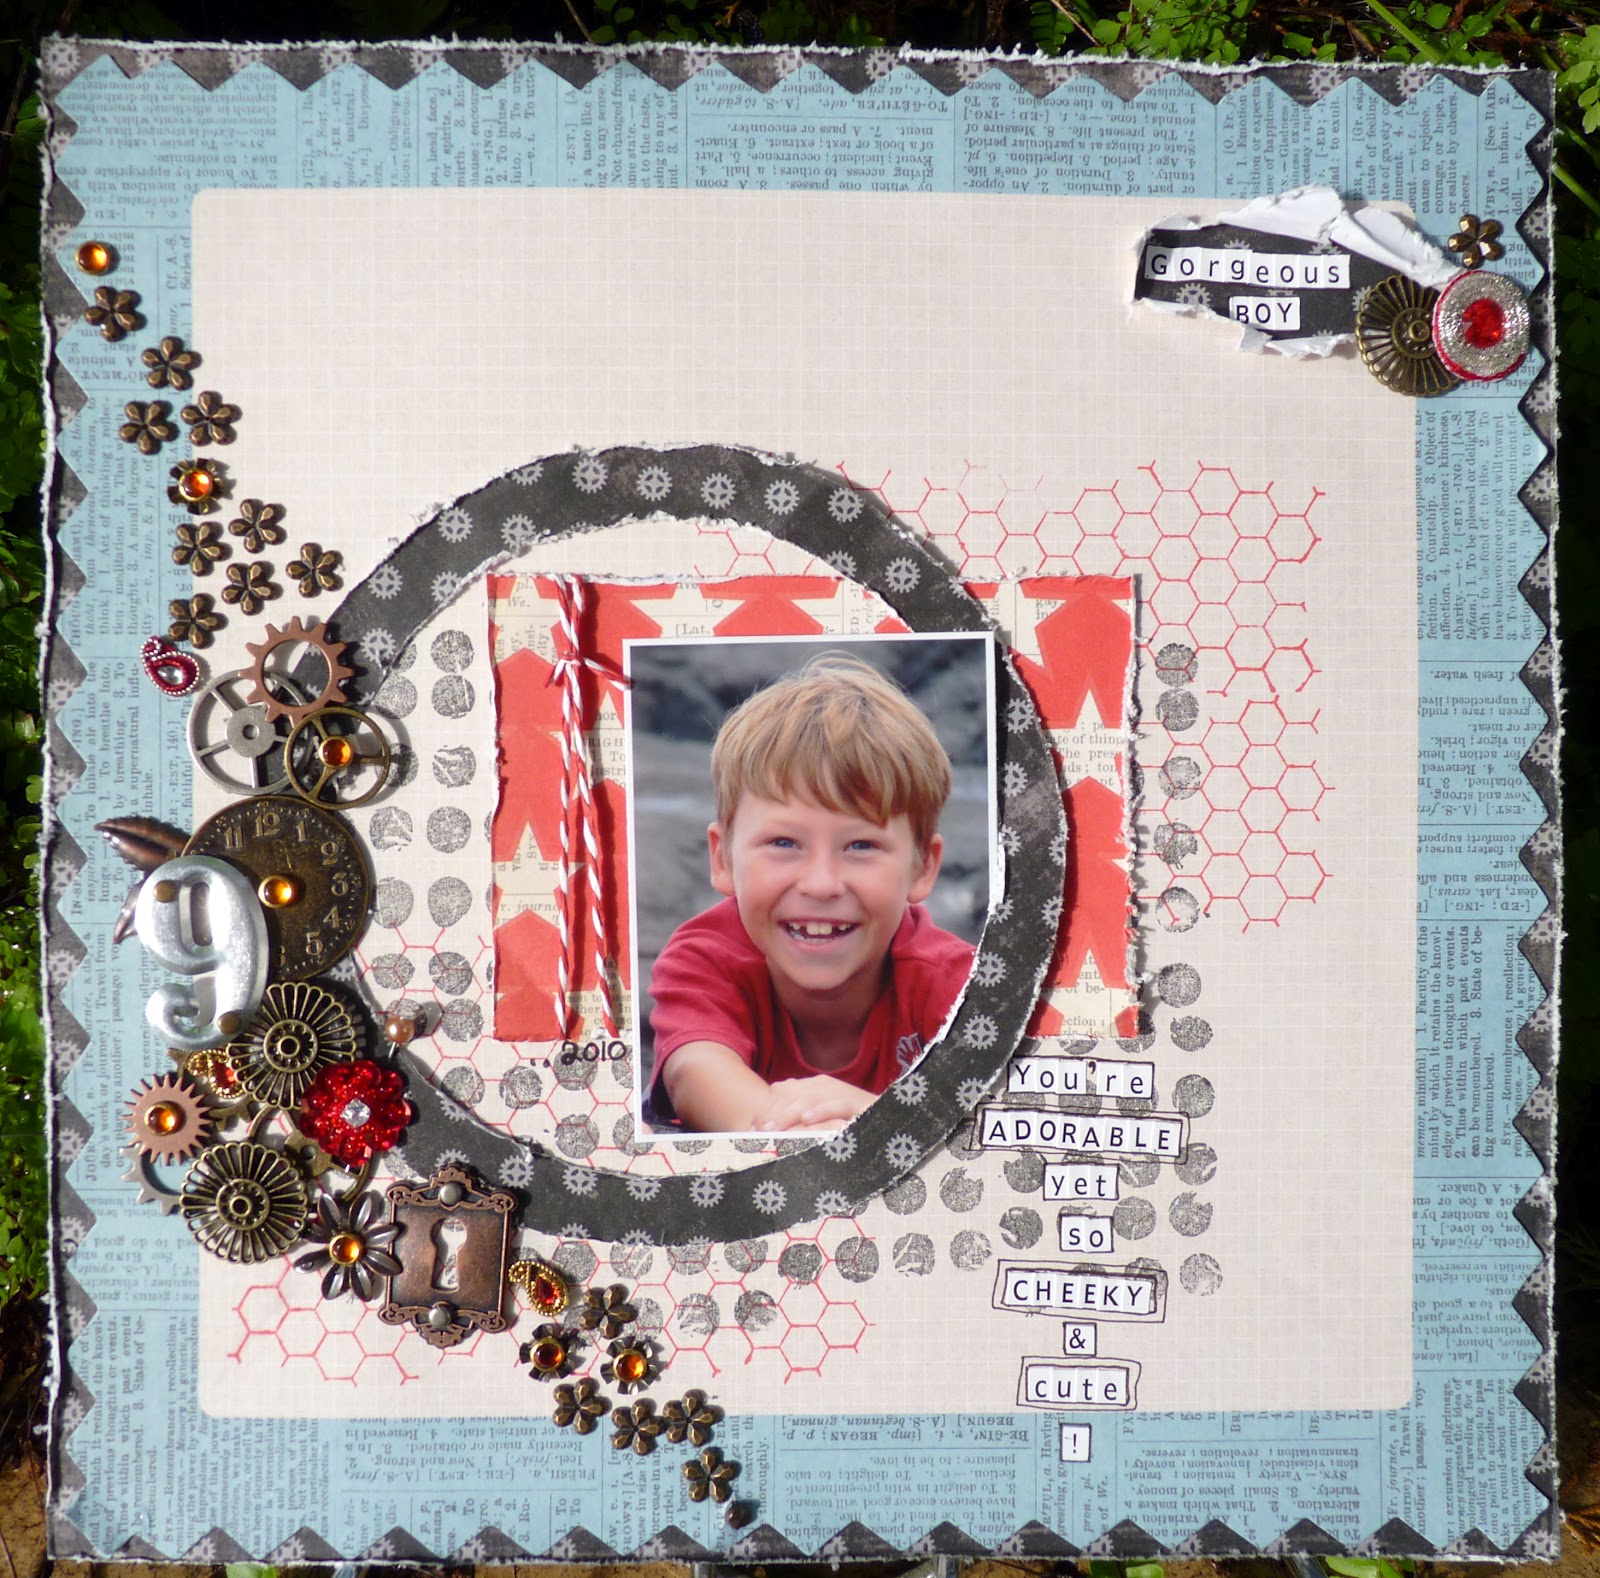
Here is some more canvas's I've been working on. They aren't totally finished but I've been enjoying the freedom to explore products what they can and can't do. I would like to thank Linda Baldock for the inspiration of the doodling canvas.. thankyou xx..


My next couple of weeks are going to be madness with a dance eisteddfod where both my kiddies are doing solo's and my girl doing a few group performances as well.... will be fun and they have worked hard and looking forward to the fun.
have a wonderful week that's left
take care
Keep smiling
Tan xx :)
So the WINNER is.... LIZZYC.
Could you please email me at cardartbytanya@yahoo.com.au your full name and address so I can post out some yummy goodies to you!.
Here is some more canvas's I've been working on. They aren't totally finished but I've been enjoying the freedom to explore products what they can and can't do. I would like to thank Linda Baldock for the inspiration of the doodling canvas.. thankyou xx..


My next couple of weeks are going to be madness with a dance eisteddfod where both my kiddies are doing solo's and my girl doing a few group performances as well.... will be fun and they have worked hard and looking forward to the fun.
have a wonderful week that's left
take care
Keep smiling
Tan xx :)