

I have a new blog!

If you want to see only my creations please come and check out and follow my new blog http://www.tanyah-payne.blogspot.com
Showing posts with label Finishing Touches. Show all posts

Monday, October 11, 2010

Bo Bunny Petal Pushers - a layout by Sue Smith

This week's layout is another creation using the gorgeous double-sided Bo Bunny Petal Pushers range. I just adore these versatile and pretty papers.


To start with I took some Bright Pink Chromatics cardstock that matched the flower colour in the patterned paper I intended to use and sprayed the edge with Glimmer Mist (Sherbert) which doesn't really show up in this photo...


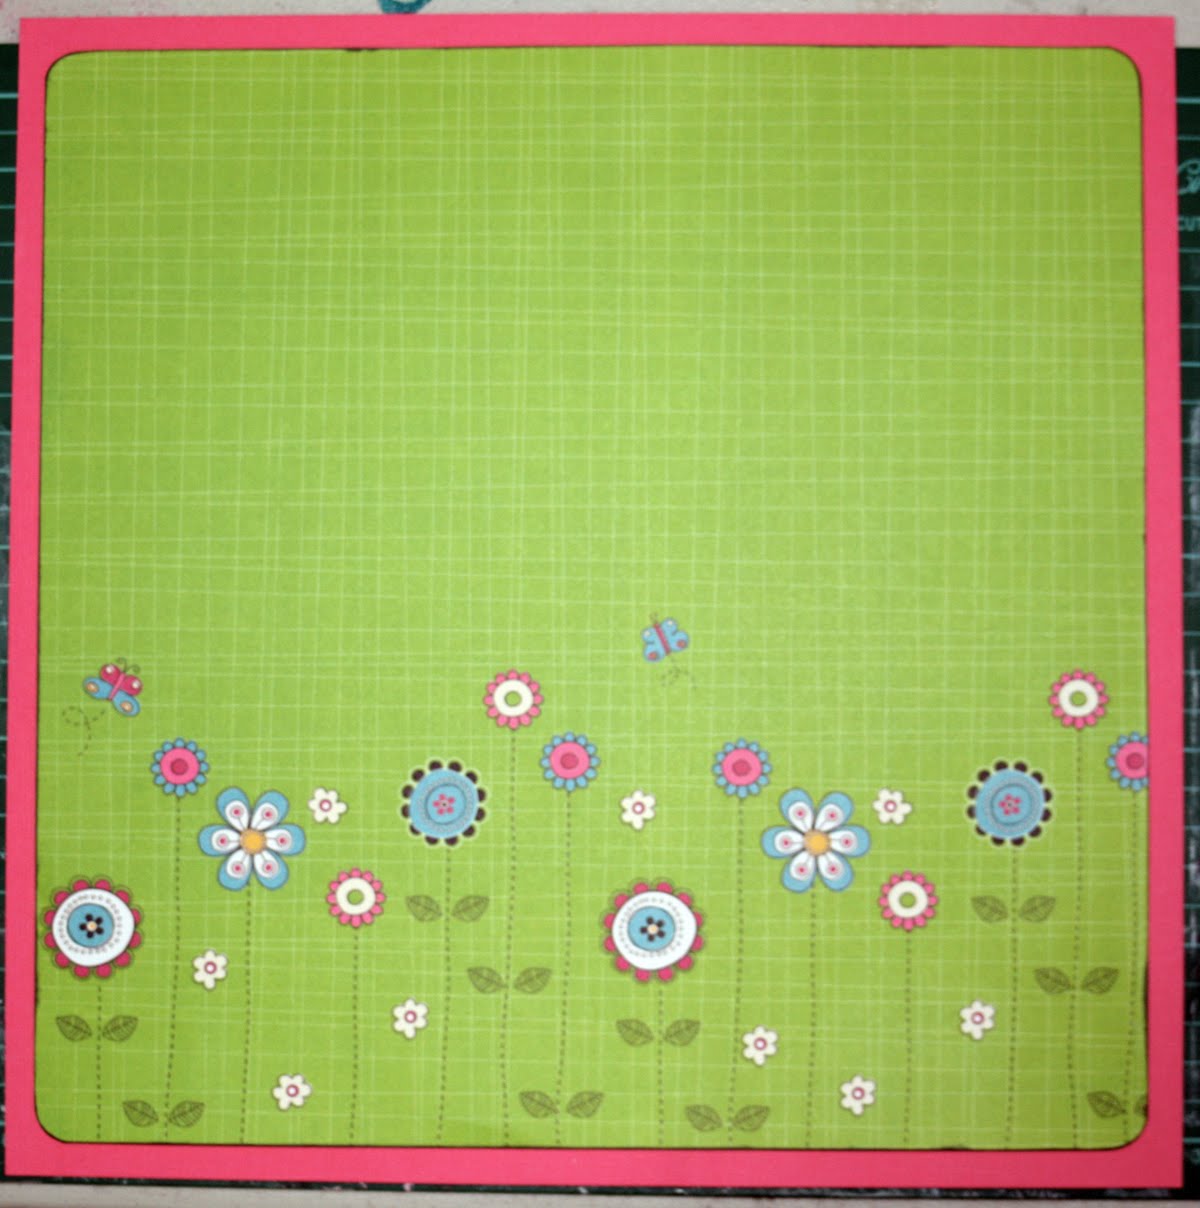
Next I cut down a sheet of Bo Bunny Petal Pushers 'Bloomers' paper on all four sides, rounded the corners, and lightly inked around the edge before attaching to the cardstock....


Then I added some Mesh Ribbon...


I made a mat for the photo out of Green Chromatics cardstock and cut a scallopped edge, then doodled inside the scallops with white and black gel pens, and attached it to the layout on an angle....


To embellish this basic layout, I cut out individual flowers and leaves from the Bo Bunny Petal Pushers 'Bloomers' paper and stuck them on with foam squares. The tri-coloured plastic flowers I used are from a great pack of Dress It Up Floral Revolution buttons. Each of the colours in these buttons can be interchanged with each other and locked into place, giving you the flexibility to choose whatever colour combo you feel like.
Tanyah has a fantastic range of buttons from this company, and you can see all available styles here.
Here is some close-up detail of the flowers on my layout....


To finish off the layout, I added a Maya Road Kraft Scroll journalling spot on which I used Carolee's Creations Tiny Alpha stickers, a title using American Crafts Thickers 'Shoebox' and a pretty pink Green Tara Flower Spray. Finally I added a glittery finishing touch to all the flowers with Kindy Glitz in Pink and Crystalina.

Thursday, March 19, 2009

Third Thursday Techniques & Ideas

Every Third Thursday of the month we would like to bring you some ideas, techniques from myself and our design team...

This month we wanted to concentrate on some ideas that add finishing touches to your projects....

How often do we hear how do I go to the next level? how do I finish off my projects? Love to know some finishing touches to my project to give it the 'WOW' factor? etc

So......

here are a few from myself and my design team, but their are lots and lots more!;


********************************************

"As most of you know, I love paint and doodling. If i think my layout needs something a little extra I'll use paint to accentuate the doodled boarder. It can really finish off a layout and give it that "WOW" factor!!"

By Design Team Member........ Michelle Jamieson


********************************************

"If you're trying to acheive a really precise and sharp piece of simple scrapbooking, I find that by using a cutting board with grid lines all over it, Then I can use my ruler to line up paper and embellishments much easier - everything looks accurate that way"
By Design Team Member.... Leanne Stamatellos

********************************************
  • I love to place embellishments last on a layout and group them together as much as possible.
  • Try and not embellish the top right corner to draw attention away from my photos
  • We all have favourite embellishments and mine would be acetate for you can stamp on it and tuck it behind or to the side of a cluster of buttons, chip shapes, flowers.
  • Flowers are fun to decorate and add different centres using chip shapes, bling, buttons, acetate and more!
  • Outlining your alphas using a gel pen can help your letters stand out more
  • Sanding your edges of your photos can help with saving money on matting your photos but also give a lovely finished look to your photos.
  • Create fun titles; they don't have to be loud or large. They can be in many forms like part of a saying, verse, song etc.
  • Using staples, brads, buttons, embellishments on your layouts by adding one at the top and 2 at the bottom
  • Working in a zig zag manner can create a wonderful look the eye loves.
  • Don't be afraid to use up your different chip alphas on your layouts, it not only uses them up but creates a fun look.
By..... Tanyah Payne

********************************************

"I like to finish off some of my pages by adding a little rough edge sewing with my sewing machine to the photographs. I make up my page and if I feel it needs a little something else I pick a colour cotton and then sew back and forth on the edge of the photo"

By Design Team Member.... Tracey Thorne


********************************************

QUESTIONS ANSWERED:.........


Shaz, ........................with the small ric rac on the layout! I have used 3mm double sided tape and then layed it down in the shape required and then placed the ric rac on top. I found glue is way too messy for this sort of thing! hope this helps. xoxo


********************************************
We hope you have found these ideas helpful!....
we would love to hear from you!