Last week I shared a step by step card sketch, so using this sketch I have created a very easy thank you card.
The sketch:
The card:
To begin, I cut cardstock (40% off) slightly smaller than the card base (card making supplies 40% off).
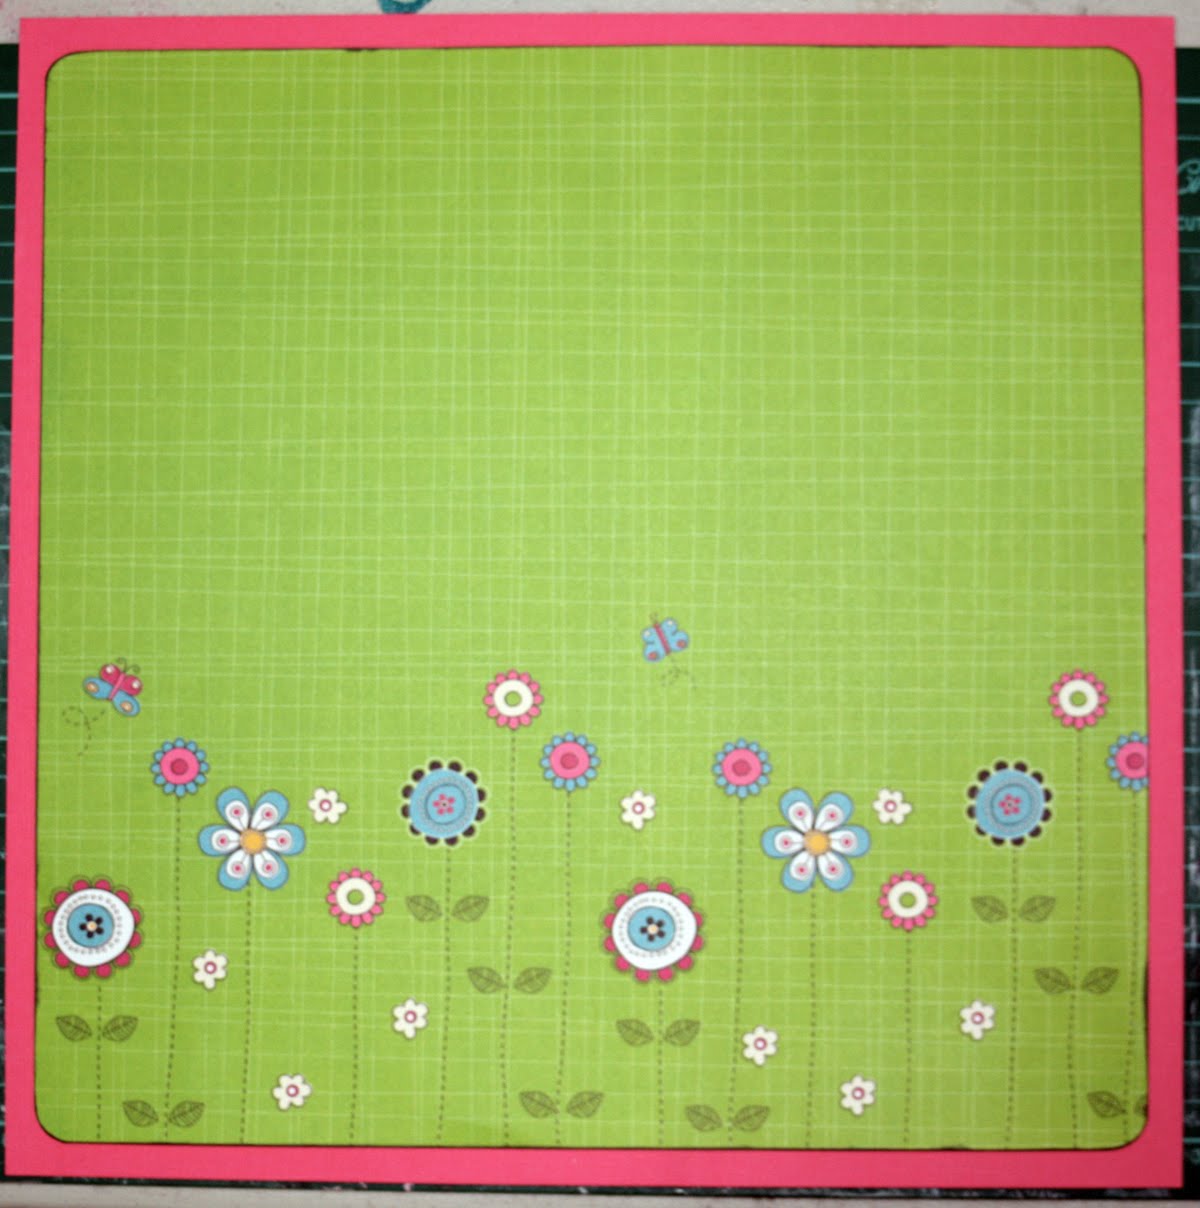
To that, I cut some 3 Bugs in a Rug paper (patterned paper is 50% off) slightly smaller than the cardstock so that a thin border of cardstock shows around the edge.
I have used a journalling spot (40% off) to give a nice base for the sentiment. I have used one from the Ruby Rock-it Summerhourse Narrative pad (these are also great to add a quick and easy spot for your scrapbooking pages )
I took one of the journalling spots (there are 24 in each pad)...
I then cut it to size and outlined around the border with a journalling pen.
Attach the journalling spot to the patterned paper and wrap some paper raffia around and tie off.
I then added the title using alpha stickers (which are also 40% off as well). Then it is finished!!
I have been making cards for Heart Cards which is an organisation set up by our dear Scrap N Craft with T friend Shazz to create hand made cards for those families who have lost so much in the recent floods. I encourage all of you crafty people to check out the heart cards site and get involved in this fantastic cause - all skill levels are more than welcome.
With all the Scrap N Craft with T HUGE specials on right now !! it is a great time to grab all your cardmaking (and scrapbooking) supplies.
Please Note: Scrap N Craft with T will be reducing their shop operating hours. You can shop anytime online but the Alstonville shop will be open Tuesday, Wednesday and Thursdays only from 9:30am - 2:00pm.
Thank you and happy creating...xxxooo
Showing posts with label Journalling Spots. Show all posts
Wednesday, January 19, 2011
Step by step Thank you card for a good cause
Posted by
nic
at
1/19/2011 11:01:00 AM
Labels:
cards,
Journalling Spots,
Sketch Card,
Step by Step-Card
1 comments
Tuesday, November 23, 2010
Altering Die Cut Papers with June Burtonwood
"Change is inevitable - except from a vending machine."
Die cut papers are great to use if you want a change from straight edges. You can use them as is, cut them into section and change the positions or simply ink, mist or spray them. I love the distressed look so today I'm sharing ways of altering a diecut paper for an aged tattered look.

Products Include.
enjoy
June
Die cut papers are great to use if you want a change from straight edges. You can use them as is, cut them into section and change the positions or simply ink, mist or spray them. I love the distressed look so today I'm sharing ways of altering a diecut paper for an aged tattered look.

Products Include.
- Collage Press die cut paper,
- brown Mesh,
- kaiser wood flourishes,
- Ruby Rock-it chipboard alphabet,
- Ruby Rock-it ATC cards,
- die cut chipboard leaves,
- metal flowers.
- Kraft Cardstock
- Distressed ink which are 39% OFF AT THE MOMENT!!!
- On this layout, My Regret, I cut out an inside shape - a circle in my case. Distressed all the inside and outside edges. Because my paper was a dark colour I left the white edges but you could also ink them.
- The reverse of most die cut papers is white so to add interest on the bits I was curling over I stamped a small script stamp that gave it a pattern - you could also ink in a matching colour. Then I tore and curled over the edges revealing the script.
- My biggest tear gave a spot to embellish in matching net - lace, flowers etc would also work well.
- I only removed a few of the punched out dots and curled up the scalloped edges. You could add your own random holes if the paper didn't have any.
- Before attaching the inside and outside pieces I made sure they were distressed enough for the background cardstock to show through.
- I could also have scrunched up and inked the paper. Another way of distressing the paper would be to sand it like I did the painted chipboard leaves and photographs.
- Try to vary the distressing techniques you use over all in your layout. Using the same on everything isn't as interesting. I have used sanding, inking, tearing, curling and edge distressing.
enjoy
June
Posted by
june
at
11/23/2010 06:28:00 AM
Labels:
Distress Technique,
FLOWERS,
Journalling Spots,
Metal
2
comments
Wednesday, October 13, 2010
Mini Album using the Rock Chic range- Nic Amber
My niece recently celebrated her 10th birthday by having a disco party, after playing with the Rock Chic papers I thought they would match perfectly to make an album marking the occasion.
I have used the Bella mini bracket album as the base...
...to which I added some pink paint around the edges and ran a couple of pieces through the cuttlebug with the checkerboard embossing folder to give it a bit more texture.
I have used the papers, Dark Angel
and the Rock Chic cardstock ATC sheet.
This range has a lots of co-ordinating embellishments to enhance your project, from chipboard pieces to journalling tablets and more....
I have left spaces for my niece to put in photos and comments later.
Tip. Getting the most out of your embellishments...In the above picture, you can see I have cut around the shape left over after I pushed out a journaling die-cut and used it to embellish the project (it's the white bracket shape). This uses up something that may have just been thrown away.
Materials I have used include:
Happy crafting...xxxooo
I have used the Bella mini bracket album as the base...
...to which I added some pink paint around the edges and ran a couple of pieces through the cuttlebug with the checkerboard embossing folder to give it a bit more texture.
I have used the papers, Dark Angel
and the Rock Chic cardstock ATC sheet.
This range has a lots of co-ordinating embellishments to enhance your project, from chipboard pieces to journalling tablets and more....
I have left spaces for my niece to put in photos and comments later.
Tip. Getting the most out of your embellishments...In the above picture, you can see I have cut around the shape left over after I pushed out a journaling die-cut and used it to embellish the project (it's the white bracket shape). This uses up something that may have just been thrown away.
Materials I have used include:
- Bella mini bracket album
- Rock chic papers, Dark Angel and Rock Chic cardstock ATC sheet.
- music shaped chipboard
- paint
- flowers
- sequin trim
- paper string
- music note printed twill
Happy crafting...xxxooo
Posted by
nic
at
10/13/2010 06:00:00 AM
Labels:
FLOWERS,
Journalling Spots,
mini album,
Off the Page Gift Ideas,
paint
1 comments
Monday, October 11, 2010
Bo Bunny Petal Pushers - a layout by Sue Smith
This week's layout is another creation using the gorgeous double-sided Bo Bunny Petal Pushers range. I just adore these versatile and pretty papers.

To start with I took some Bright Pink Chromatics cardstock that matched the flower colour in the patterned paper I intended to use and sprayed the edge with Glimmer Mist (Sherbert) which doesn't really show up in this photo...

Next I cut down a sheet of Bo Bunny Petal Pushers 'Bloomers' paper on all four sides, rounded the corners, and lightly inked around the edge before attaching to the cardstock....

Then I added some Mesh Ribbon...

I made a mat for the photo out of Green Chromatics cardstock and cut a scallopped edge, then doodled inside the scallops with white and black gel pens, and attached it to the layout on an angle....

To embellish this basic layout, I cut out individual flowers and leaves from the Bo Bunny Petal Pushers 'Bloomers' paper and stuck them on with foam squares. The tri-coloured plastic flowers I used are from a great pack of Dress It Up Floral Revolution buttons. Each of the colours in these buttons can be interchanged with each other and locked into place, giving you the flexibility to choose whatever colour combo you feel like.
Tanyah has a fantastic range of buttons from this company, and you can see all available styles here.
Here is some close-up detail of the flowers on my layout....

To finish off the layout, I added a Maya Road Kraft Scroll journalling spot on which I used Carolee's Creations Tiny Alpha stickers, a title using American Crafts Thickers 'Shoebox' and a pretty pink Green Tara Flower Spray. Finally I added a glittery finishing touch to all the flowers with Kindy Glitz in Pink and Crystalina.

To start with I took some Bright Pink Chromatics cardstock that matched the flower colour in the patterned paper I intended to use and sprayed the edge with Glimmer Mist (Sherbert) which doesn't really show up in this photo...

Next I cut down a sheet of Bo Bunny Petal Pushers 'Bloomers' paper on all four sides, rounded the corners, and lightly inked around the edge before attaching to the cardstock....

Then I added some Mesh Ribbon...

I made a mat for the photo out of Green Chromatics cardstock and cut a scallopped edge, then doodled inside the scallops with white and black gel pens, and attached it to the layout on an angle....

To embellish this basic layout, I cut out individual flowers and leaves from the Bo Bunny Petal Pushers 'Bloomers' paper and stuck them on with foam squares. The tri-coloured plastic flowers I used are from a great pack of Dress It Up Floral Revolution buttons. Each of the colours in these buttons can be interchanged with each other and locked into place, giving you the flexibility to choose whatever colour combo you feel like.
Tanyah has a fantastic range of buttons from this company, and you can see all available styles here.
Here is some close-up detail of the flowers on my layout....

To finish off the layout, I added a Maya Road Kraft Scroll journalling spot on which I used Carolee's Creations Tiny Alpha stickers, a title using American Crafts Thickers 'Shoebox' and a pretty pink Green Tara Flower Spray. Finally I added a glittery finishing touch to all the flowers with Kindy Glitz in Pink and Crystalina.
Posted by
sueat17
at
10/11/2010 07:00:00 AM
Labels:
Bo Bunny,
buttons,
doodling,
Embellishments,
Finishing Touches,
Journalling Spots,
Step by Step-Single Layout
2
comments
Monday, September 13, 2010
Layout by Sarah Rickard, Sketch created by Tanyah payne
Have you ever thought of buying an old story book or music book from the op shops?....
If you love the old look and words on your layout this is a wonderful and cheap way of doing something quiet amazing... The sky is the limit with this sort of thing with die cutting it to tearing to inking some more or even make flowers out of it.
We will have some paper with writing on it that is acid free, if you use these others you need to check that first if you are worried.
Today I want to show you a lovely layout done by Sarah Rickard using the story book paper. Sarah has torn and folded the edges to give the layout more depth.
Layout as seen in Scrapbook Creations No 80 (Vol 9 No 5).
Other products Sarah has used is the
- Crate paper from the Season's range.... very sweet range and a must have!
- tulle
- staples
- Vintage Valentines range from Fancy Pants
- Little yellow bicycle journal ling spots... these are lovely and wonderful to use!
- Photos by Rachel Richter
If you want to have a go at this layout here is a sketch for you to have a go at...

Have a wonderful day everyone,
Luv Tan Xx
Posted by
Tanyah Payne
at
9/13/2010 07:00:00 AM
Labels:
Journalling Spots,
Sketch Single Layout
1 comments
Tuesday, March 23, 2010
Layout by Sarah Rickard and a sketch by Kylie Abel
With Lisa using the Pink Paisley - Cupid range of pattern papers for her kits this month (we will have another kit for you to purchase next week) ... Sarah has also been road testing these papers too.
Notice the fine detail in this layout... the doodling around the edge of the bracket shape, zig zag sewing on the left side .. all to create something indiviual and unique.

This layout is awesome sarah and thanks for sharing with us.
Products Sarah has used are:
Hope you have a go at this sketch and place in our gallery!....
We love it when you SHARE IDEAS and YOUR CREATIVE LAYOUTS....
till next time
luv TanXx
Notice the fine detail in this layout... the doodling around the edge of the bracket shape, zig zag sewing on the left side .. all to create something indiviual and unique.
This layout is awesome sarah and thanks for sharing with us.
Products Sarah has used are:
- Crafters workshop Templates
- Pink Paisley pattern papers
- Making memories journsling spots
- Thickers
- Adornit mini alphas
- Little yellow bicycle journaling spots.
- Staples
- Kraft Cardstock
Hope you have a go at this sketch and place in our gallery!....
We love it when you SHARE IDEAS and YOUR CREATIVE LAYOUTS....
till next time
luv TanXx
Posted by
Tanyah Payne
at
3/23/2010 06:23:00 PM
Labels:
doodling,
Journalling Spots,
Sketch Single Layout
2
comments
Tuesday, January 26, 2010
Single Step by step layout by Amanda Moran
“A Love of Music” Layout

Materials used:
I almost always use plain coloured cardstock (kraft is my favourite) as the base for all my layouts. I decided to try something different with this layout and have the pretty pattern paper as the base for the layout. My Minds Eye Abbey Road Whirlybird “Shine” pattern paper and pale blue Bazzill cardstock I cut piece of the Bazzill 22cm x 27 cm
.
Because the pattern paper is so lovely, before adhering the cardstock, I’ve cut a piece of the pattern paper out (using my metal ruler and craft knife) 19cm x 21.5cm
.
You never know we might use some of this again later! Ink the edges of your cardstock if you like then adhere the cardstock on the front of your pattern paper ensuring it is relatively evenly spaced over the hole you cut see the backside view
.
With the Whirlybird “Shine” diecut journal piece – I punched out a scallop either side of each corner and added some bling to the corners – just to jazz it up a bit
!
Put the journal spot to one side we’ll use it later.
Another additional feature I like to add is some sewing. So if you want to you can sew around the edge of your cardstock. I kept it fairly straight this time but sometimes I like the messy look and go around a few times
!
If you don’t have a sewing machine you can always hand sew around it OR using a journaling pen doodle some ‘fake’ sewing stitches around.
I planned to put the word ‘love’ in my title so I found a small chipboard heart in my stash and glued it to the pattern paper piece I’d saved from earlier (see told you we’d use it!) and I also punched a few circles out to use in the photo corner cluster we are building
!
While the chipboard heart & glue is drying, cut two small pieces of coordinating pattern paper (I’ve used Whirlybird “Best Friends” Scattered Flowers) approximately 60mm x 10mm and 60mm x 25mm. Ink the edges of these if you like – I used a nice bright pink ink. Place the large piece of pattern paper under the top right hand corner of your photo as you adhere it to the top right hand corner of the cardstock.
Now for the cluster: this is going on the bottom right hand corner of the photo. I’ve used the chipboard heart (which I cut out with my craft knife and lightly sanded the edges), a pink flower and one of Chelly Bean Designs Romantic Roses. I’ve used a button & thread to centre the paper flower and a pattern paper circle to centre the rose. Place these over the edge of the photo, cardstock and pattern paper
.
Add the title underneath the photo & cluster. I’ve used American Craft thickers AND smaller alphabet stickers.
Next we’ll add the journaling diecut we jazzed up earlier. I’ve used a combination of handwriting and small alpha stickers to emphasize certain words in the journaling. You might notice I’ve also included on of Tara’s old clarinet reeds to the journaling block
.
This is placed to the left of the title.
For the final touch I’ve added to other small rectangle of green pattern paper overlapping the cardstock and pattern paper on the left hand side under the journal diecut. I’ve also add three Kaiser bling to each of those small rectangle pieces!
Thank you manda for this lovely layout!
till next time
luv TanXx
Materials used:
I almost always use plain coloured cardstock (kraft is my favourite) as the base for all my layouts. I decided to try something different with this layout and have the pretty pattern paper as the base for the layout. My Minds Eye Abbey Road Whirlybird “Shine” pattern paper and pale blue Bazzill cardstock I cut piece of the Bazzill 22cm x 27 cm
Because the pattern paper is so lovely, before adhering the cardstock, I’ve cut a piece of the pattern paper out (using my metal ruler and craft knife) 19cm x 21.5cm
You never know we might use some of this again later! Ink the edges of your cardstock if you like then adhere the cardstock on the front of your pattern paper ensuring it is relatively evenly spaced over the hole you cut see the backside view
With the Whirlybird “Shine” diecut journal piece – I punched out a scallop either side of each corner and added some bling to the corners – just to jazz it up a bit
Put the journal spot to one side we’ll use it later.
Another additional feature I like to add is some sewing. So if you want to you can sew around the edge of your cardstock. I kept it fairly straight this time but sometimes I like the messy look and go around a few times
If you don’t have a sewing machine you can always hand sew around it OR using a journaling pen doodle some ‘fake’ sewing stitches around.
I planned to put the word ‘love’ in my title so I found a small chipboard heart in my stash and glued it to the pattern paper piece I’d saved from earlier (see told you we’d use it!) and I also punched a few circles out to use in the photo corner cluster we are building
While the chipboard heart & glue is drying, cut two small pieces of coordinating pattern paper (I’ve used Whirlybird “Best Friends” Scattered Flowers) approximately 60mm x 10mm and 60mm x 25mm. Ink the edges of these if you like – I used a nice bright pink ink. Place the large piece of pattern paper under the top right hand corner of your photo as you adhere it to the top right hand corner of the cardstock.
Now for the cluster: this is going on the bottom right hand corner of the photo. I’ve used the chipboard heart (which I cut out with my craft knife and lightly sanded the edges), a pink flower and one of Chelly Bean Designs Romantic Roses. I’ve used a button & thread to centre the paper flower and a pattern paper circle to centre the rose. Place these over the edge of the photo, cardstock and pattern paper
Add the title underneath the photo & cluster. I’ve used American Craft thickers AND smaller alphabet stickers.
Next we’ll add the journaling diecut we jazzed up earlier. I’ve used a combination of handwriting and small alpha stickers to emphasize certain words in the journaling. You might notice I’ve also included on of Tara’s old clarinet reeds to the journaling block
This is placed to the left of the title.
For the final touch I’ve added to other small rectangle of green pattern paper overlapping the cardstock and pattern paper on the left hand side under the journal diecut. I’ve also add three Kaiser bling to each of those small rectangle pieces!
Thank you manda for this lovely layout!
till next time
luv TanXx
Posted by
Tanyah Payne
at
1/26/2010 06:08:00 AM
Labels:
Chipboard,
Journalling Spots,
Step by Step-Single Layout
1 comments
Thursday, January 14, 2010
Layout Samples of Bella 'ever after' range, Bella Blog and a step by step sketch!
jToday I wanted to show case some layouts Sarah has created for us using the NEW BELLA 'EVER AFTER' range. You would have seen this range in the last Scrapbooking memories magazine. Also
If you would like to see a layout of mine on the BELLA BLOG click HERE!
Here are sarah's Layouts to show you ....

Here is a STEP BY STEP sketch if you would like to have a go....
Step 1

Step 2

Step 3

Here is some more layouts to inspire you and to enjoy!....
Capturing the moment...

e & r

big yawn..

I love how sarah has used a clothing tag for this bottom layout... Have you ever tried this it can be a challenging idea and a lot of fun to see what you come up with... If you do use a tag on your layouts please place them in the gallery for us to admire...
Thank you sarah for these lovely layouts, Hope you enjoy these
luv tanXx
If you would like to see a layout of mine on the BELLA BLOG click HERE!
- This layout features my Besty Sarah's bubby Reiss when he was hours old. Products in this range were fun to use was the flocked Die Cuts Journalling spots, ribbon, brads and 3D butterflies.
- This layout features my gorgeous Girl being a little princess! love how the silver and soft blue compliments. I have also used the rubons and glittered chip shapes which are really fun to work with.
Here are sarah's Layouts to show you ....
- This layout features Sarah's 3 beautiful boys. Sarah has used the paper lace, brads, ribbon and thick bella glittered alphas.
Here is a STEP BY STEP sketch if you would like to have a go....
Step 1

Step 2

Step 3

Here is some more layouts to inspire you and to enjoy!....
Capturing the moment...
e & r
big yawn..
I love how sarah has used a clothing tag for this bottom layout... Have you ever tried this it can be a challenging idea and a lot of fun to see what you come up with... If you do use a tag on your layouts please place them in the gallery for us to admire...
Thank you sarah for these lovely layouts, Hope you enjoy these
luv tanXx
Posted by
Tanyah Payne
at
1/14/2010 06:43:00 AM
Labels:
FLOWERS,
Journalling Spots,
Paper ribbon,
Ribbon,
Sketch Single Layout
0
comments
Subscribe to:
Posts (Atom)